User Guide for Electronic Precision Control Electric Torque Wrench
Новости 2026-01-23
User Guide for Electronic Precision Control Electric Torque Wrench
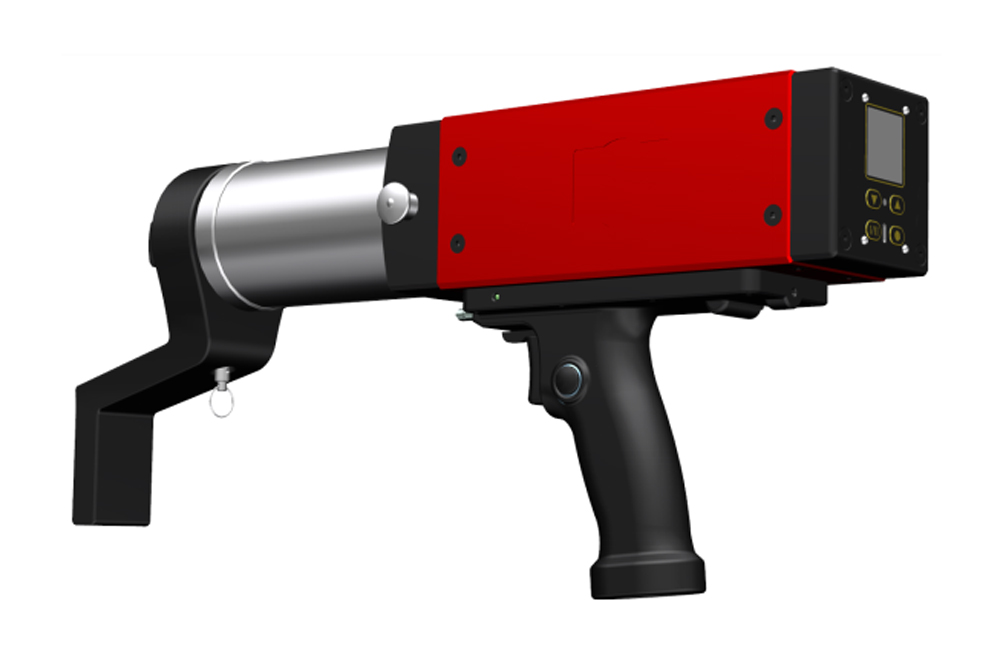
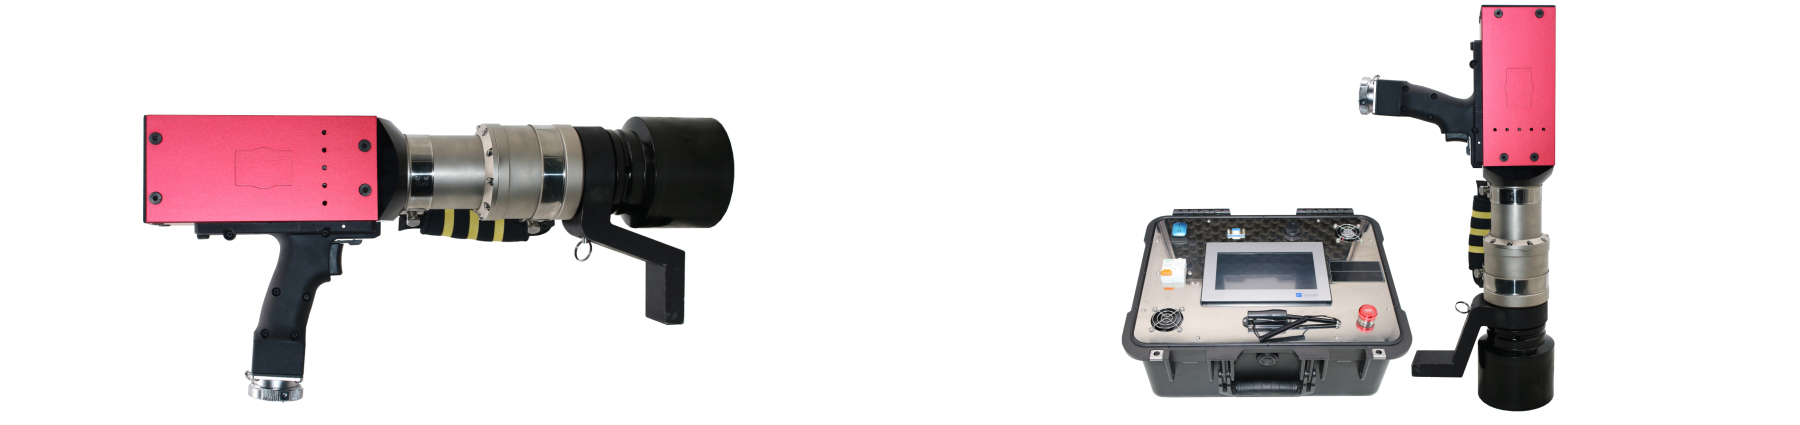
Features of electronic precision-controlled electric torque wrench:
Compact design, fast speed, and lightweight
The control device is installed on the main body, featuring digital display and button operation
The socket and the reaction lever are independent of the wrench body, facilitating easy replacement
During operation, there is no vibration, no reaction force, low load, and reduced labor intensity
The output torque value can be easily set by directly reading the displayed torque, without any conversion required
Torque control is available in both directions
The wrench automatically stops when it reaches the required torque
Repeatability of torque accuracy ±5%
Operation Method:
Pre-operation check: Ensure the power is connected, turn on the switch, and if the motor sounds normal, it is ready for use.
Warm-up wrench: At least 5 minutes (10 minutes in winter), operate without load to achieve rated accuracy.
“Fastening” operation:
Turn the handle to the R position.
Unlock: When the wrench stops, press the “Set Key” and hold down the “Minus” button for 3 seconds. The upper right corner will change to an unlock icon.
Locking: When the wrench stops, press the “Set” button and hold down the “Plus” button for 3 seconds. The upper right corner will change to a locked icon.
Gear adjustment: In the unlocked state, press “Plus” or “Minus” to select the gear, and perform the locking operation after the adjustment is complete.
Insert the reaction arm sleeve: Rotate the internal gear to fully insert the reaction arm sleeve into the nut.
Start wrench: Press the switch to start, the reaction lever stops on the connecting material, and the fastening begins.
Automatic stop: When the target torque is reached, the wrench automatically stops rotating.
“Loosening nut” operation:
Turn the handle to the L position.
Adjust the torque setting to the target torque.
Insert the reaction arm sleeve: Rotate the internal gear to fully insert the reaction arm sleeve into the nut.
Starting wrench: Press the wrench switch to start, the reaction lever stops on the connecting material, and the nut starts to rotate.
Precautions: Before loosening the nut, please confirm that the handle is in the L position. Neglecting this step may cause injury and damage. The values on the torque setting plate are reference values, and it is recommended to use a torque testing device for inspection. Confirm the locking torque, check it after 8 operations, and ensure that at least 5 bolts are locked. Use a torque wrench to tighten the bolts for additional tightening and measure the torque when the nut is turned again. Calculate the average torque and compare it with the target torque. Make fine adjustments when the difference is greater than +/-5%, and be sure not to use the same bolt for adjustment.